How to Repair Leather Tears & Cracks on Your Sofa
Practical step-by-step methods to assess damage, apply the right repair technique, and restore your leather sofa to its original condition
VIEW REPAIR KITS & PRODUCTSA leather sofa is a significant investment — typically ranging from $1,500 to $4,000 or more — and discovering a tear or crack in the upholstery can be deeply frustrating. However, most leather damage is far less catastrophic than it appears at first glance. Modern leather repair techniques and products have advanced considerably, making it entirely possible to achieve near-invisible repairs at home without professional help.
The key to a successful repair lies in correctly identifying the type of damage, understanding what kind of leather you are working with, and choosing the appropriate repair method for the situation. A surface crack caused by dryness requires a completely different approach than a clean tear from a pet claw. Applying the wrong technique can worsen the damage and make a future professional repair more difficult and expensive.
This guide covers every aspect of leather sofa repair — from identifying different damage types and assessing whether DIY repair is feasible, to step-by-step instructions for tears, cracks, and scratches. We also cover prevention strategies to stop future damage before it starts. For general leather cleaning and care that prevents damage in the first place, our leather sofa cleaning guide provides the essential foundation.
Identifying the Type of Leather Damage
Before reaching for any repair product, you need to understand exactly what kind of damage you are dealing with. Misidentifying a crack as a tear (or vice versa) will lead you to the wrong repair method, wasted materials, and potentially worse damage. Here are the four primary types of leather damage you will encounter on a sofa.
Surface Cracks
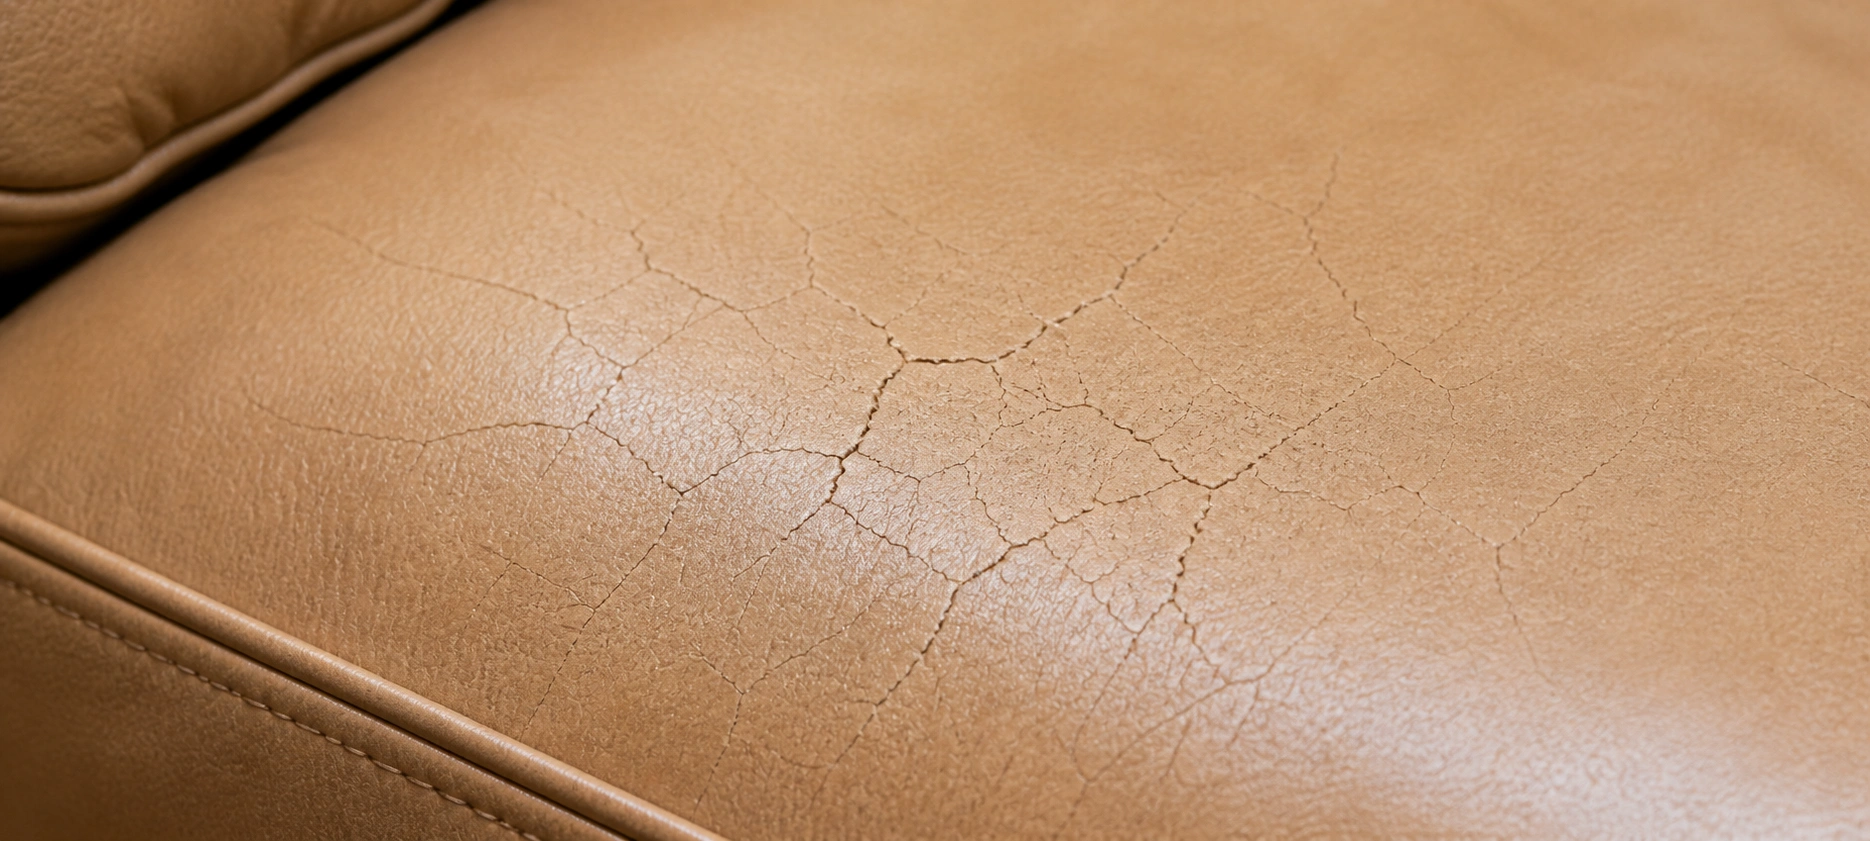
Hairline fractures in the leather surface caused by dryness and loss of natural oils. The leather hasn't been cut or punctured — it has simply become brittle and split under normal flexing pressure. Common on seat cushions and armrests of older sofas.
Easiest to Fix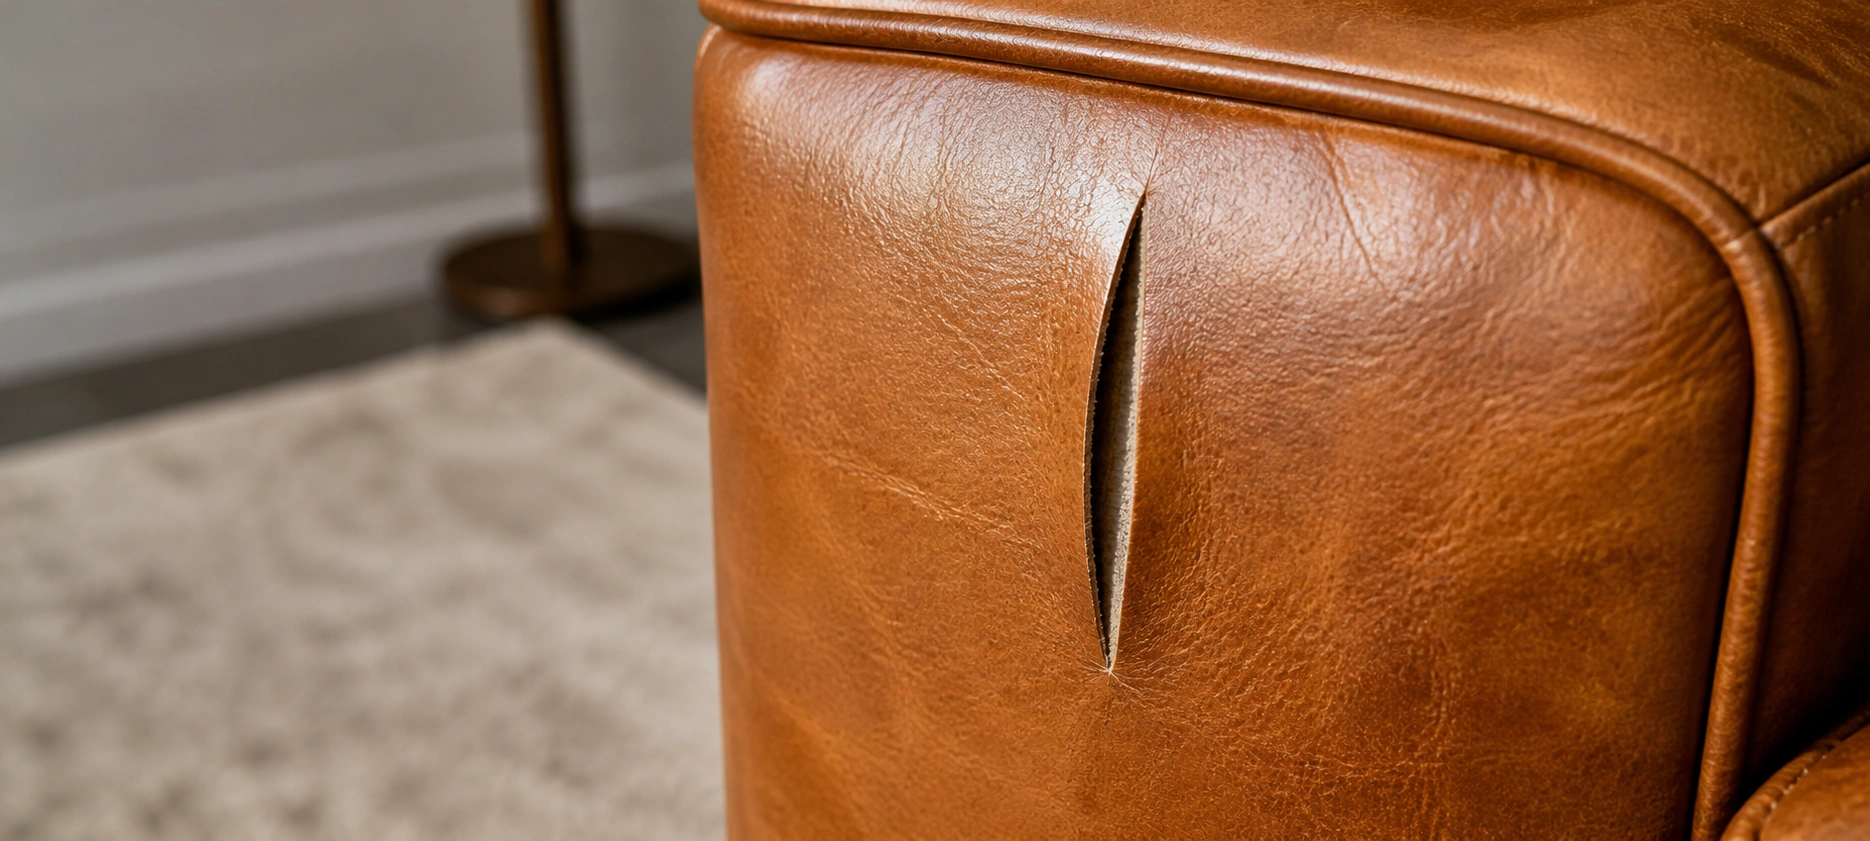
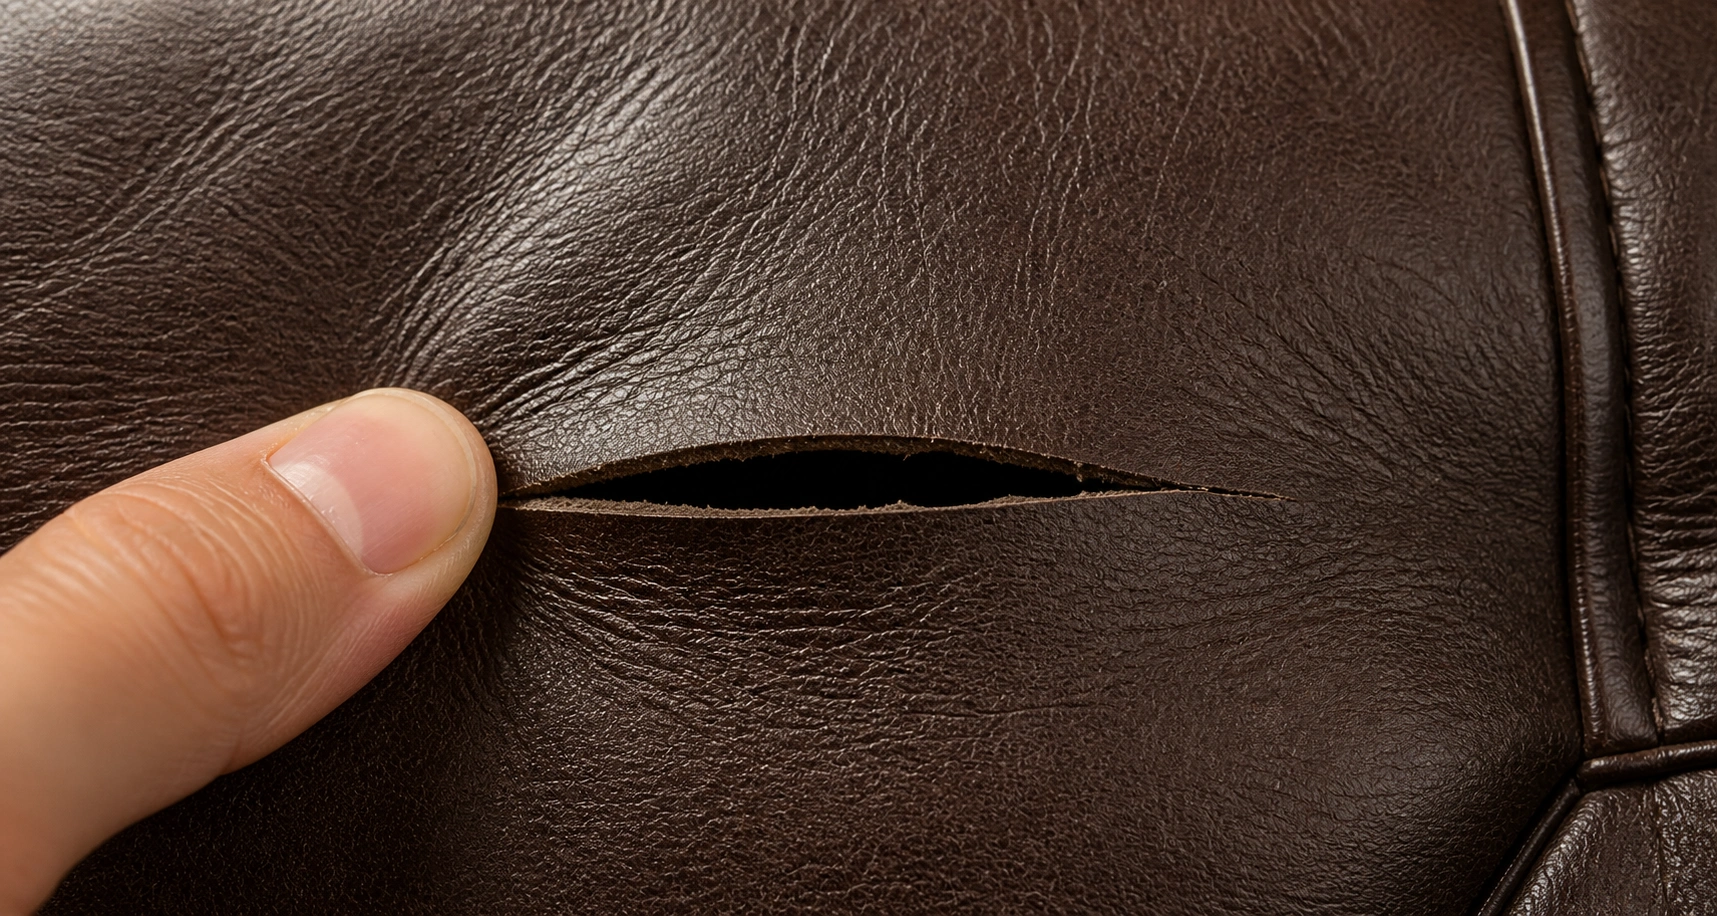
Clean Tears
A physical separation of the leather where the edges are relatively straight and clean. Typically caused by sharp objects, pet claws, or catching on clothing buckles. The edges haven't frayed or curled, making these the most repair-friendly tears.
Moderate Repair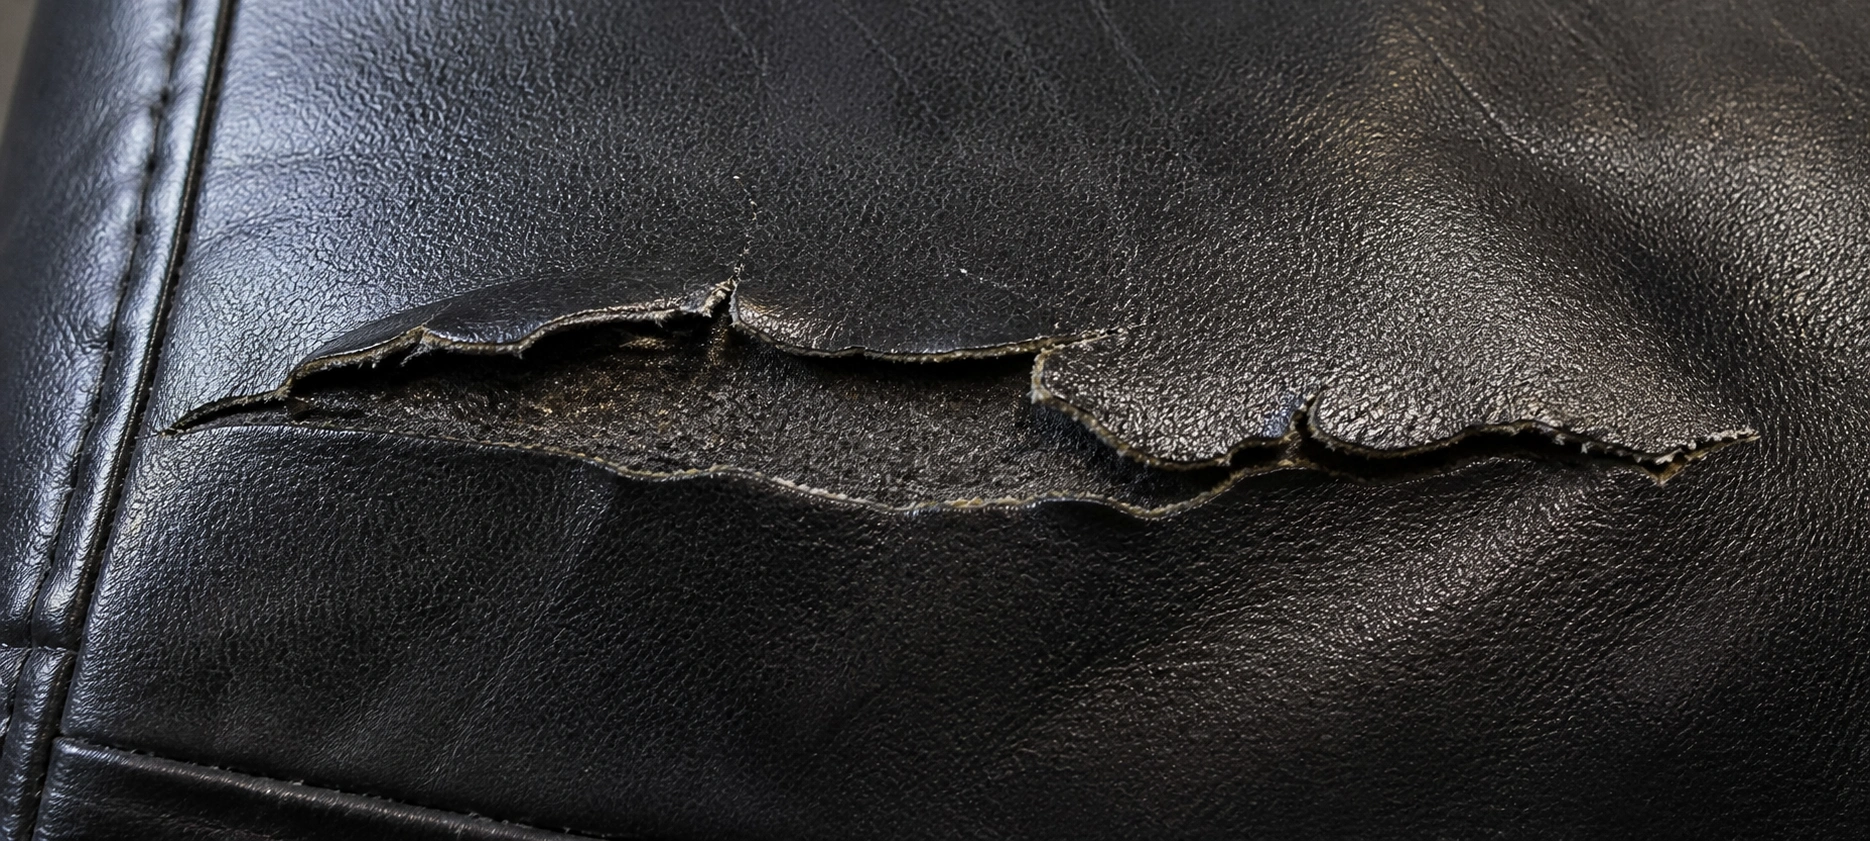
Jagged / Frayed Tears
Irregular tears with rough, curled, or frayed edges. Usually caused by blunt force, pulling, or catching on something with significant force. These are harder to repair because the edges cannot be simply rejoined — they require trimming and filling.
Difficult Repair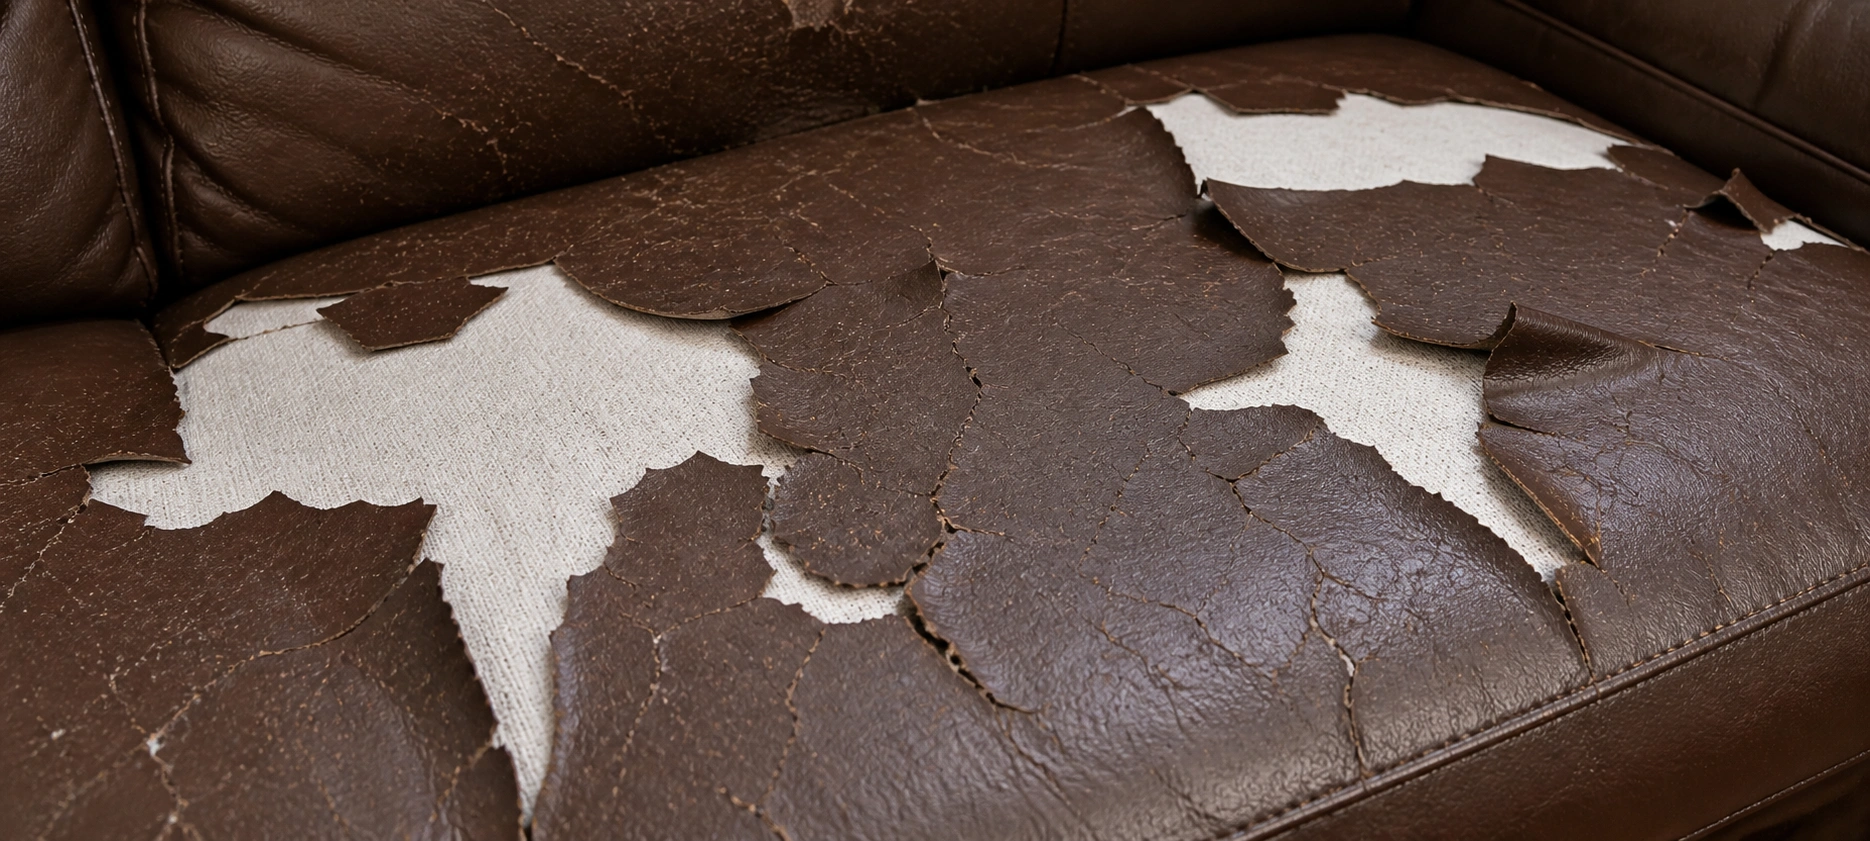
Peeling / Flaking
The leather surface layer is delaminating and peeling away, often exposing a fabric or vinyl backing underneath. This is characteristic of bonded leather or heavily coated leather. This damage cannot be truly repaired — only concealed or the panel replaced entirely.
Often UnrepairableEssential Repair Tools and Supplies
Having the right materials assembled before you start will dramatically improve your results. Leather repair requires specific adhesives and compounds that are fundamentally different from general-purpose glues and fillers. Here is what you need for the most common repair scenarios.
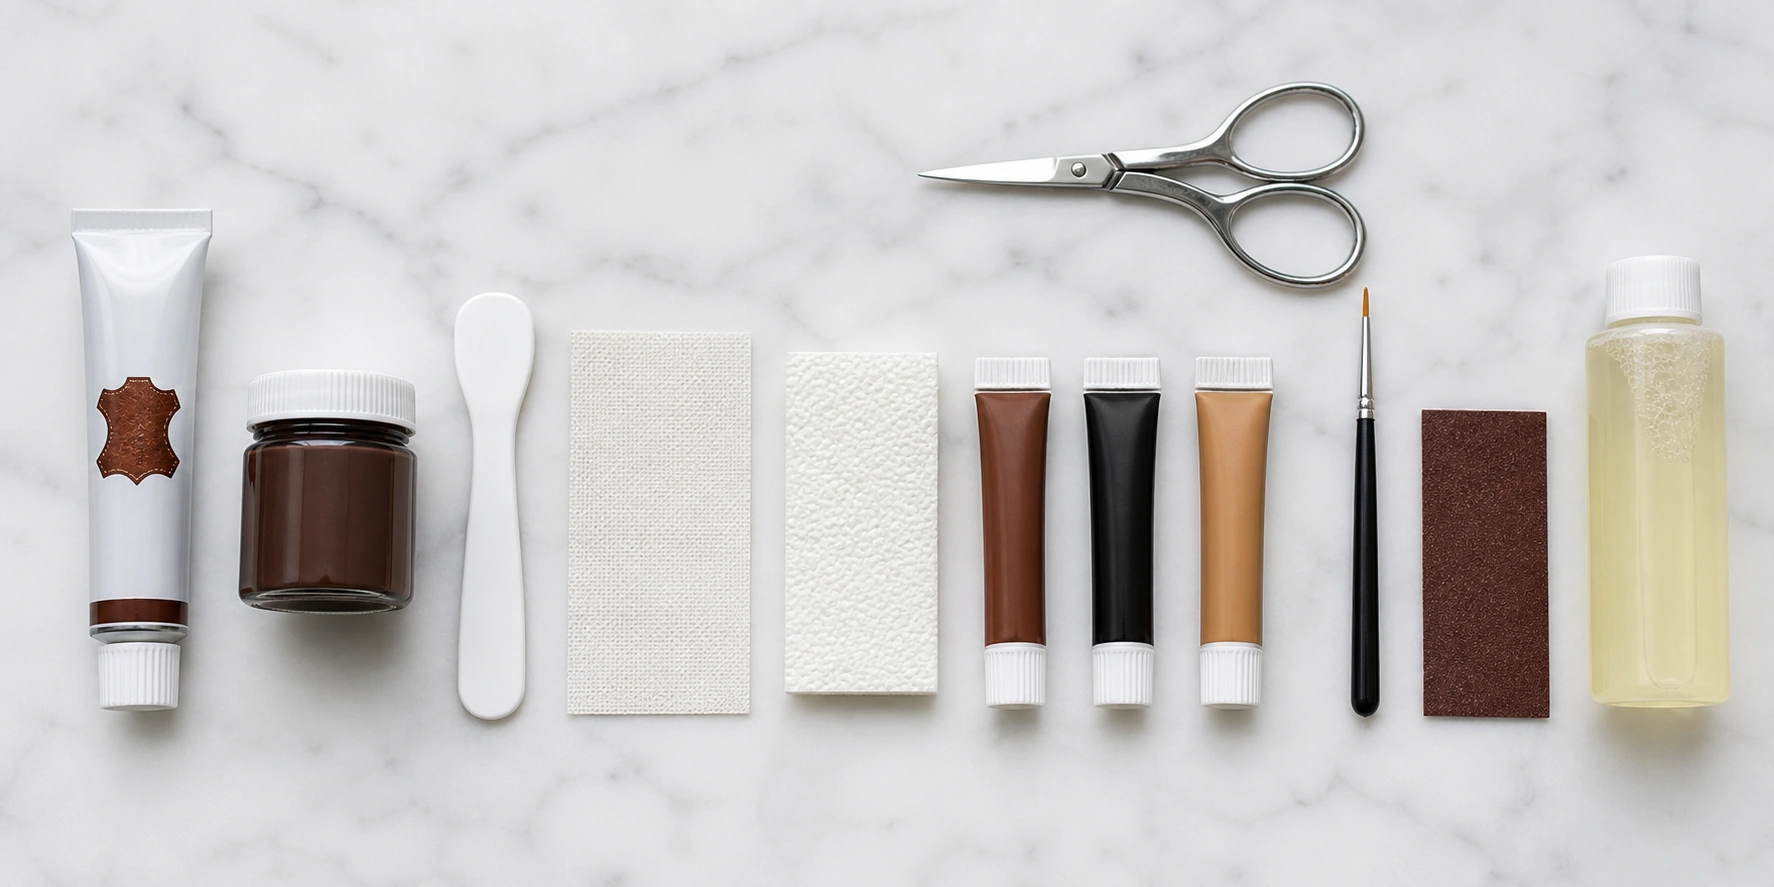
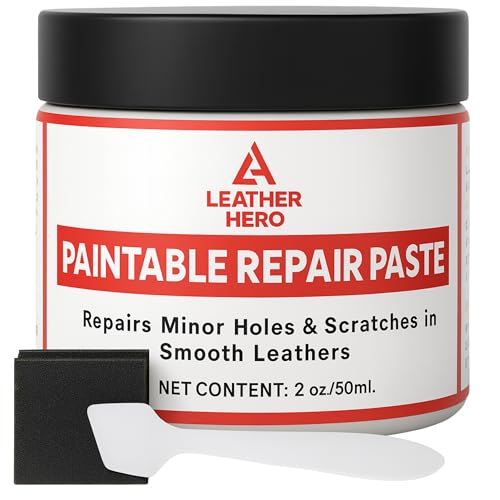
Leather Repair Kit
An all-in-one kit containing adhesive, filler compound, color mixing tools, and applicators. The single most important purchase for this job.
Color-Matched Compound
A heavy-bodied filler that matches your leather color. Some kits include multiple colors to mix a custom match. Essential for filling tears and cracks.
Sub-Patch Fabric
A thin, flexible backing fabric included in repair kits that goes under the tear to provide structural support for the filler compound.
Sharp Scissors / Craft Knife
For trimming frayed edges, cutting sub-patch fabric to size, and shaping dried repair compound flush with the leather surface.
Grain Pad / Texture Paper
A textured pad that presses a leather-like grain pattern into the wet repair compound for a seamless finish. Usually included in quality kits.
Heat Tool or Hair Dryer
Used to accelerate drying of the repair compound and to heat-set the grain texture. Low to medium heat only — high heat damages leather.
Leather Cleaner
A dedicated leather cleaner to prep the area around the damage. The repair compound will not adhere to dirty, oily, or conditioned leather surfaces.
Leather Conditioner
Applied after the repair is complete to restore moisture and flexibility to the repaired area and blend it with surrounding leather. Essential for crack prevention.
Repairing Leather Tears: Step-by-Step
This method works for clean tears and small-to-medium jagged tears (under 3 inches). For tears larger than 3 inches, consider applying a leather patch from the underside or consulting a professional. The sub-patch technique described below creates a permanent structural repair that can withstand regular use.
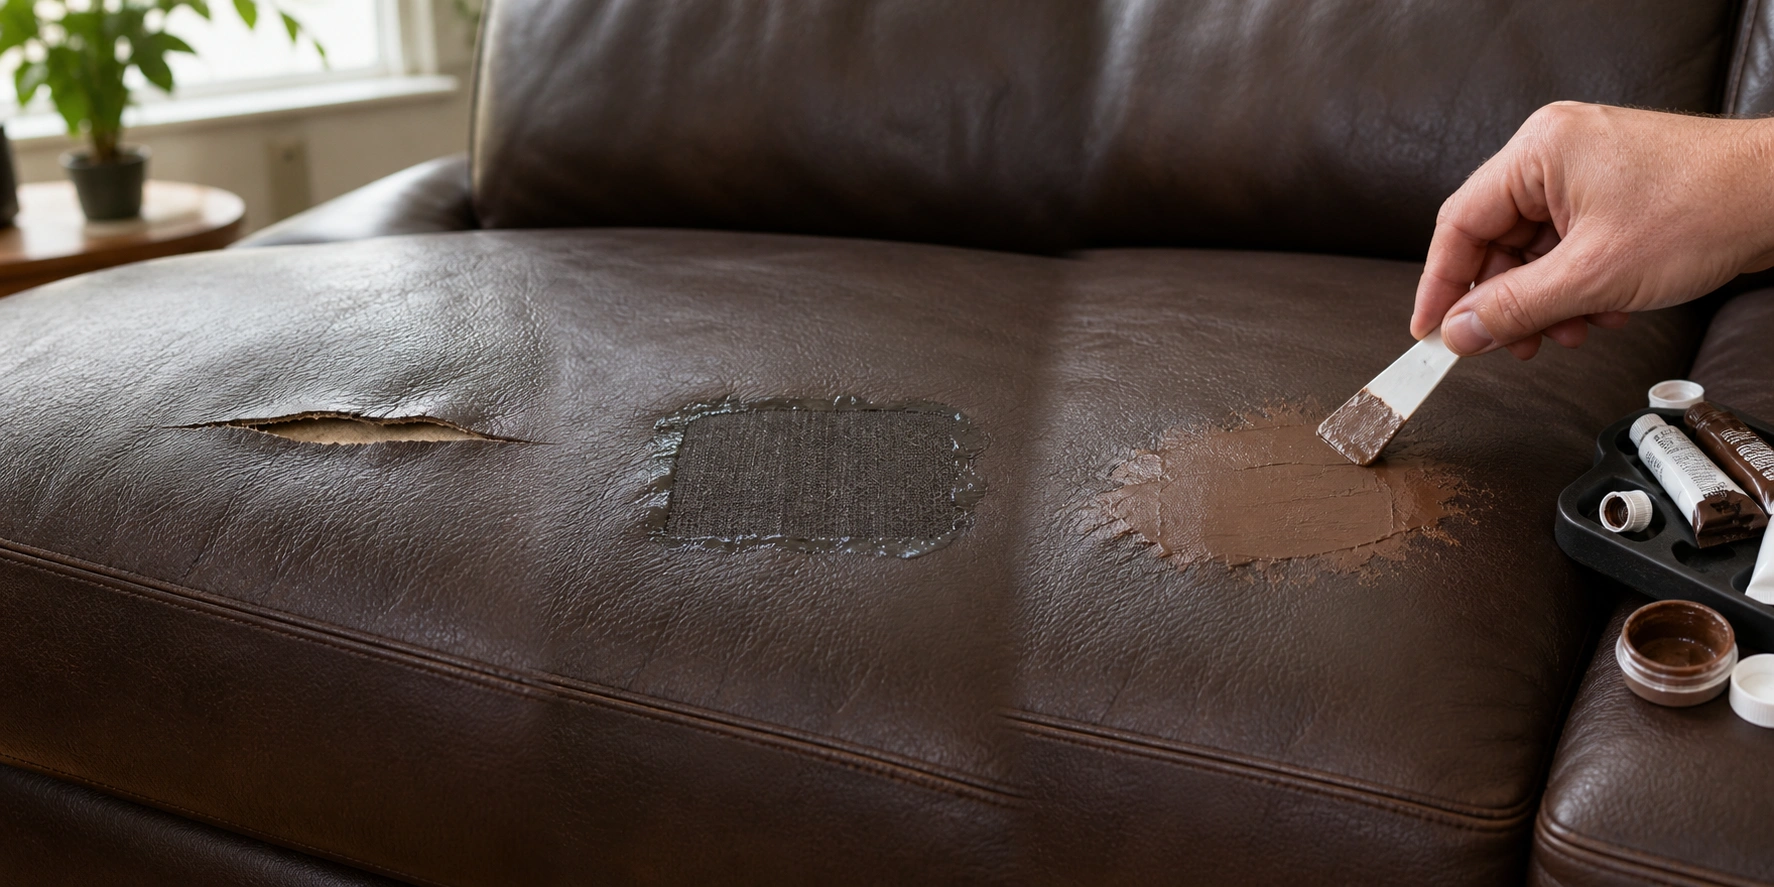
- Clean the Damage Area Using a leather cleaner and a clean cloth, thoroughly clean the area around the tear — at least 2 inches beyond the damage in all directions. Remove all dirt, body oils, and residue. Do not use leather conditioner at this stage; conditioners leave an oily film that prevents the repair adhesive from bonding. Allow the area to dry completely for at least 30 minutes.
- Trim Frayed Edges (If Applicable) If the tear has rough or curled edges, carefully trim them with sharp scissors or a craft knife to create the cleanest edge possible. Do not remove leather unnecessarily — only trim what is clearly loose and frayed. For clean tears with straight edges, skip this step entirely.
- Apply Leather Adhesive Under the Tear Lift one edge of the tear and apply a thin, even layer of leather repair adhesive to the underside using the applicator tool or a cotton swab. Work the adhesive into the gap between the torn edges. Press the edges together and hold for 30–60 seconds. Do not use super glue — it dries rigid and will crack again with use. Use only the flexible leather adhesive included in your repair kit.
- Place the Sub-Patch If the tear is wider than about half an inch when closed, reinforce it with a sub-patch. Cut a piece of the thin backing fabric slightly larger than the tear. Apply adhesive to the underside of the leather around the tear opening, then press the sub-patch onto the adhesive. Use a flat tool or your fingers to smooth out any wrinkles or air bubbles. Let the adhesive set for the time specified in your kit instructions (typically 1–2 hours).
- Apply the Filler Compound Using the spatula or applicator tool, fill the tear with color-matched leather repair compound. Overfill slightly — the compound will shrink as it dries, and any excess can be sanded smooth later. Work the compound into the tear edges to ensure a seamless bond with the surrounding leather. Feather the edges outward to blend with the undamaged surface.
- Apply the Grain Texture While the compound is still wet and workable, place the grain pad or texture paper over the repaired area. Press firmly with your fingers or a flat tool, working from the center outward. Hold the grain pad in place and apply gentle heat with a hair dryer on low setting for 30–60 seconds. The heat sets the compound and embosses the grain pattern. Remove the grain pad carefully by peeling it straight back.
- Let It Cure Completely Allow the repair to dry and cure fully — typically 12 to 24 hours at room temperature. Do not sit on or touch the repaired area during this time. The compound needs to harden completely before any sanding or conditioning. If the room is humid, extend the drying time by several hours.
- Sand and Blend (If Needed) Once fully cured, check if the repair sits slightly above the surrounding leather surface. If so, lightly sand the raised area with very fine sandpaper (600 grit or higher) using gentle circular motions. Sand minimally — you can always sand more but cannot add compound back once removed. Wipe away any sanding dust with a damp cloth.
- Apply Leather Conditioner Apply a quality leather conditioner over the repaired area and the surrounding leather. This restores moisture, blends the repair with the adjacent surface, and adds a uniform sheen. The conditioner also helps prevent future cracking around the repair edges. Reapply conditioner to this area monthly for the first few months.
Repairing Surface Cracks: Restoration Method
Surface cracks are fundamentally different from tears — the leather hasn't been cut or separated, but rather the surface layer has become so dry and brittle that it fractures under flexing pressure. This means the repair approach is also different: instead of patching and filling a gap, you need to restore flexibility and moisture to the leather fibers.
For light surface cracks (thin hairlines with no peeling), regular leather conditioning may be sufficient. Apply a generous coat of conditioner, work it in with your fingers in circular motions, and let it absorb for 30 minutes before wiping off the excess. Repeat daily for one week, then monthly for maintenance. Many light cracks will become significantly less visible or disappear entirely as the leather regains flexibility.
For deeper cracks (wider than a hairline, with slight separation), apply a thin layer of leather repair compound directly into the crack using a fine-tip applicator. Overfilling is not necessary for cracks — just fill to surface level. Smooth the compound flush with the leather surface, apply the grain texture while wet, and allow it to cure. Follow with leather conditioner once fully dry.
For widespread cracking covering a large area, consider applying the repair compound as a thin overall coating rather than filling individual cracks. This creates a uniform surface that hides all cracks simultaneously. Apply with a sponge or cloth in thin, even layers. This technique works well on seat cushions where the entire surface shows aging.
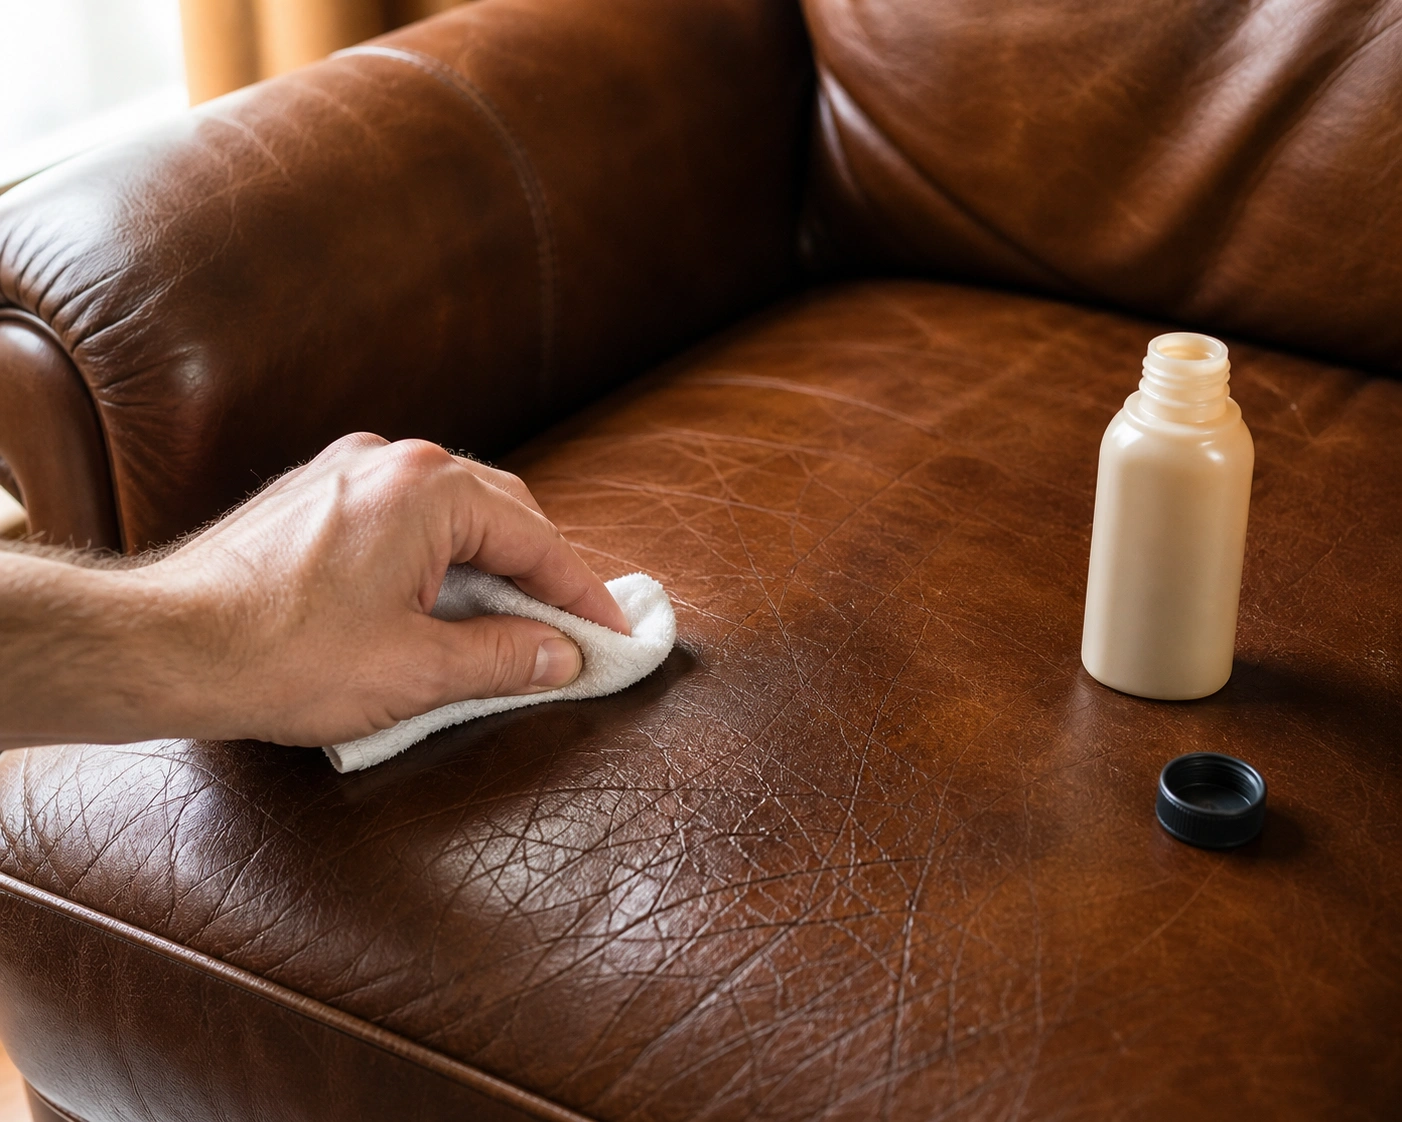
DIY Repair vs. Professional Service: Which to Choose
Not every repair is a good candidate for the DIY approach. Understanding when to tackle it yourself and when to call in a professional can save you both money and frustration. The table below provides clear guidance based on the most common scenarios.
| Scenario | Recommended Approach | Reasoning |
|---|---|---|
| Small clean tear (under 1 inch) | DIY with repair kit | High success rate. Sub-patch method produces near-invisible results. Kit cost: $15–$40. |
| Medium tear (1–3 inches) | DIY with quality kit | Good results achievable with careful technique. Practice on hidden area first. |
| Large tear (over 3 inches) | Professional recommended | DIY possible but results less reliable. Large sub-patches are harder to blend seamlessly. |
| Surface cracks (dryness-related) | DIY with conditioner | Conditioning resolves most cracking. Very low cost and high success rate. |
| Multiple damage areas | Professional recommended | Matching color across multiple repairs is difficult. Pros have industrial color matching systems. |
| Bonded leather peeling | Not repairable | No adhesive or compound bonds properly to delaminated bonded leather. Consider covers or reupholstery. |
| Visible high-traffic area | Professional recommended | Seat cushion center, armrest top — repairs here must withstand constant scrutiny and wear. |
| Hidden or low-traffic area | DIY always | Back panel, lower skirt, underside — even an imperfect repair is invisible here. |
Common Mistakes That Ruin Leather Repairs
Using Super Glue or Household Adhesives
Super glue, wood glue, epoxy, and general-purpose adhesives all fail on leather for the same reason: they dry hard and rigid. Leather is a flexible material that moves every time someone sits down. A rigid repair will crack immediately under this stress. Only use adhesives specifically formulated for leather — they dry flexible and move with the material.
Skipping the Cleaning Step
Applying repair compound to dirty or oily leather is the most common cause of repair failure. Body oils, dust, furniture polish residue, and previous conditioner applications all create a barrier that prevents the adhesive and compound from bonding. Clean thoroughly with leather cleaner, let it dry completely, and do not condition before repairing.
Not Matching the Color When Dry
Leather repair compound always looks darker when wet and lighter when dry. If you mix the color while the compound is wet and it looks right, the dried result will be too light. Mix your color, apply a test dab, let it dry fully, and then adjust. This single mistake is responsible for most "obvious patch" complaints.
Rushing the Drying Process
Using a hair dryer on high heat or placing the sofa in direct sunlight to speed up drying will cause the compound to crack, shrink unevenly, and detach from the leather. Use only low or medium heat to set the grain texture, then allow natural air drying for the full recommended curing time. Patience directly correlates with repair quality.
Preventing Future Tears and Cracks
Repairing damage is only half the battle. Without addressing the underlying causes, new tears and cracks will continue to appear. Leather damage on sofas is almost always preventable — it is caused by environmental conditions and maintenance neglect rather than normal wear. Implementing the following prevention strategies will dramatically extend the life of your repair and your leather sofa as a whole.
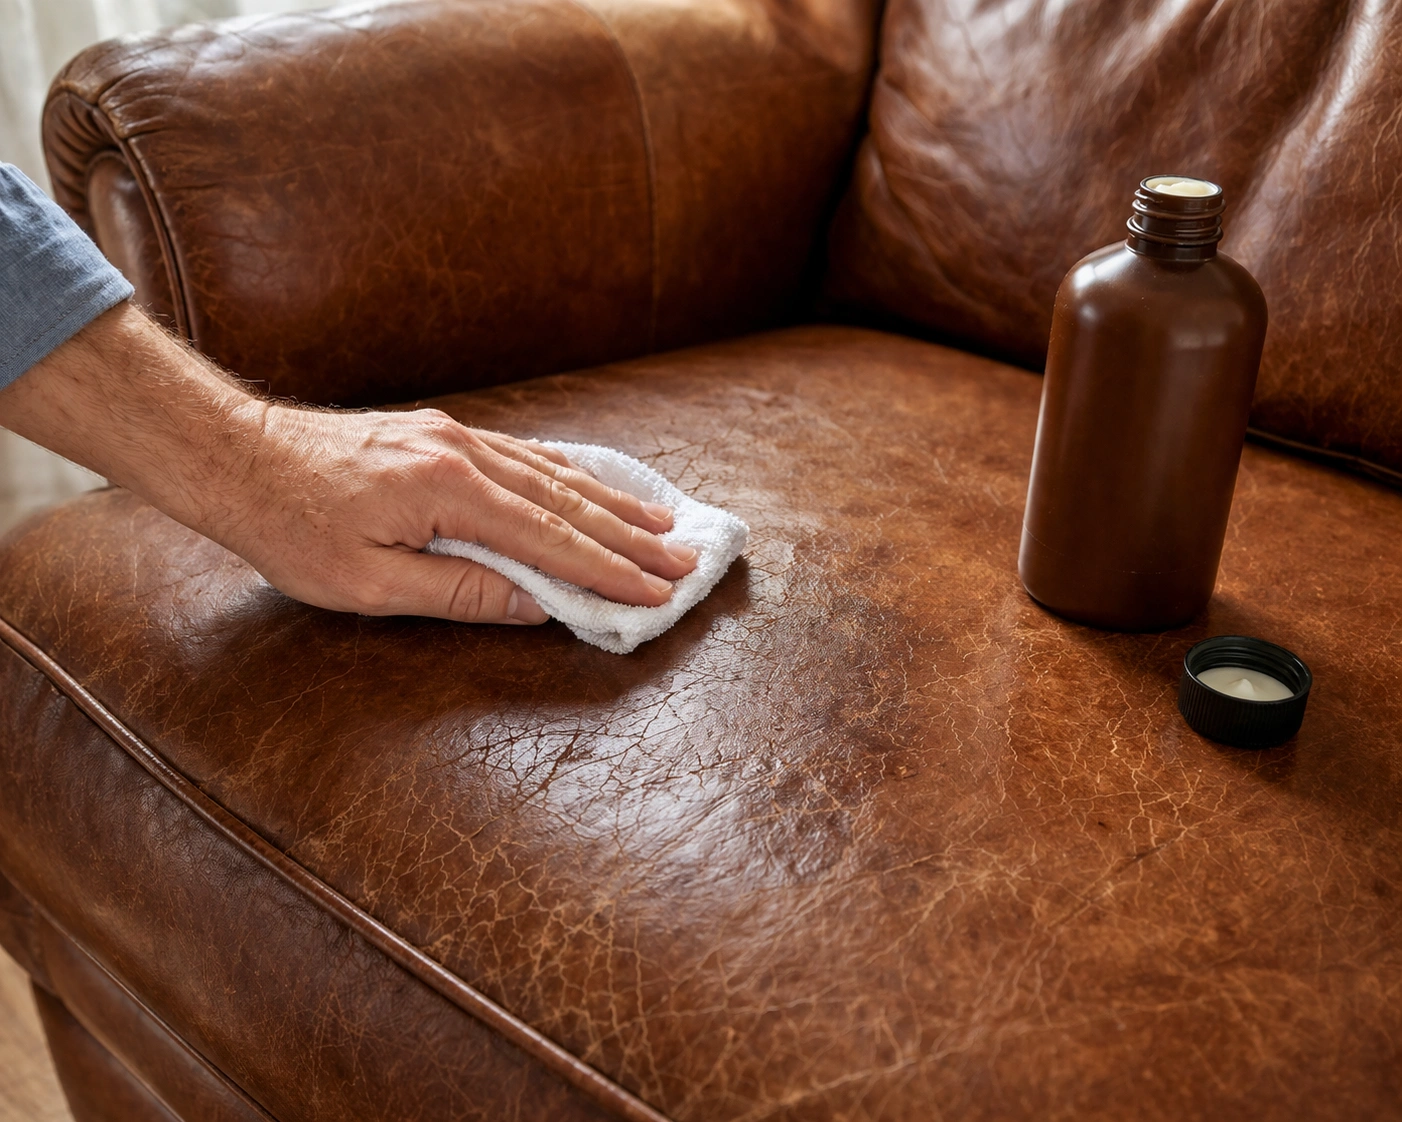
Condition Every 3–6 Months
Regular leather conditioning is the single most effective prevention measure. Conditioner replenishes the natural oils that keep leather supple and resistant to cracking. Apply a thin, even coat, allow it to absorb for 20–30 minutes, then buff off excess with a soft cloth. Increase frequency to every 2–3 months for family rooms and other high-use areas.
Keep Away from Direct Sunlight
UV radiation is leather's primary enemy — it breaks down the protective finish, bleaches the dye, and accelerates the drying process that leads to cracking. Position your leather sofa at least 3 feet from windows, or use UV protection window films and curtains. This is especially critical for black and dark-colored leather, which absorbs more heat from sunlight.
Maintain Consistent Humidity
Extreme dry air pulls moisture from leather, causing it to become brittle. In winter or dry climates, use a humidifier to maintain indoor humidity between 40–60%. Conversely, very high humidity can promote mold growth on leather. A simple hygrometer ($10–$15) placed near the sofa helps you monitor conditions.
Avoid Heat Sources
Position your sofa away from radiators, heating vents, fireplaces, and space heaters. Direct heat exposure dries out leather rapidly and unevenly, causing cracking on the side facing the heat source. If rearrangement is not possible, use a sofa cover on the heat-facing side as a thermal barrier.
Address Pet Damage Immediately
If you have pets, keep their claws trimmed and provide alternative scratching surfaces. A small claw puncture that goes unnoticed can widen into a major tear over weeks as the leather flexes and the puncture edges dry out. For households with pets, consider using pet-proof sofa covers when you are not actively using the sofa.
Use the Right Cleaning Products
Never use all-purpose cleaners, bleach, ammonia, furniture polish, baby wipes, or abrasive sponges on leather. These products strip the protective finish, remove natural oils, and can cause discoloration. Use only products specifically formulated for leather, and always follow with conditioner after cleaning. Our fabric protection guide includes leather-specific product recommendations.
When Repair Is Not Enough: Signs It Is Time to Replace
While this guide aims to help you salvage your leather sofa, there are situations where repair is no longer practical or cost-effective. Recognizing this point saves you from sinking money and effort into a sofa that has reached the end of its serviceable life. Consider replacement if you observe the following conditions:
The leather is bonded and extensively peeling. As discussed earlier, bonded leather cannot be genuinely repaired once delamination begins. If more than 20–30% of the surface is peeling, even concealing it with covers becomes impractical. When shopping for a replacement, understanding leather grades will help you avoid bonded leather and choose a more durable option like top-grain or full-grain leather.
Multiple large tears across different panels. If your sofa has tears on the seat, back, and arms, the structural integrity of the entire upholstery is compromised. Repairing each area individually will likely cost more than the sofa's remaining value, and the cumulative visual effect of multiple repairs will be unsatisfactory.
The internal structure is also failing. Leather damage is often accompanied by other issues — sagging cushions, squeaking frames, broken springs, or worn padding. If the leather is damaged AND the internal components need attention, the combined repair cost usually exceeds the value of a quality replacement. For reference on overall sofa lifespan, our guide to sofa ownership costs provides useful benchmarks.
The repair would cost more than 40% of replacement value. A professional leather repair typically costs $75–$300 per area. If your sofa needs multiple repairs totaling more than 40% of what a comparable replacement would cost, you are better off investing in new furniture. When comparing, factor in that a new sofa also comes with a warranty and many more years of usable life.
Frequently Asked Questions
Yes, most leather tears can be repaired effectively using a leather repair kit. Small tears under 2 inches can be fixed with sub-patch adhesive and color-matched compound, producing a nearly invisible result. Medium tears up to 3 inches are also repairable with careful technique. Larger tears may require a leather patch applied from the underside of the upholstery. The key factors affecting repair quality are the leather type (genuine leather repairs well; bonded leather does not), the tear location (hidden areas are more forgiving), and how well you can match the color. Always test your technique on a hidden area first.
A tear is a physical separation of the leather material — the leather has been cut, split, or punctured, creating an opening that goes through the material. Tears are typically caused by sharp impact (pet claws, keys, scissors), snagging on clothing or jewelry, or deliberate cutting. A crack is a surface-level fracture caused by dryness and loss of flexibility — the leather has not been cut or punctured, but the surface layer has become so brittle that it splits under normal flexing pressure. Tears require structural repair (adhesive and filler), while cracks require moisture restoration (conditioning). The distinction matters because treating a tear with conditioner will not close the opening, and treating a crack with filler compound addresses the symptom but not the cause.
Repairing is almost always worth attempting before considering replacement. A quality leather sofa costs $1,500 to $4,000 or more, while a DIY leather repair kit costs $15 to $60. Even professional leather repair typically runs $75 to $300 per damaged area — substantially less than replacement. The recommended approach is to try a DIY repair on a hidden area first to evaluate the results. If the outcome is acceptable, proceed with visible repairs. Only consider replacement if the leather is extensively damaged across multiple panels, the leather is bonded and peeling in large sheets, the internal frame and cushions are also failing, or the cumulative repair cost exceeds 40% of the sofa's replacement value.
No. Super glue (cyanoacrylate adhesive) is one of the worst things you can use on leather. It dries extremely hard and completely rigid, which means the moment anyone sits on the repaired area and the leather flexes, the super glue bond will crack and fail. It also discolors leather, leaves a visible hard spot, and can spread beyond the intended repair area. Once super glue has been applied, it becomes significantly more difficult for a professional to repair the damage later because the glue residue interferes with proper leather adhesives. Always use the flexible leather adhesive included in dedicated repair kits — these products are specifically formulated to dry with elasticity that moves with the leather.
Cracking is caused by leather drying out and losing its natural flexibility. To prevent it, condition your leather every 3 to 6 months with a quality leather conditioner designed for upholstered furniture. Keep the sofa away from direct sunlight, heat vents, and fireplaces — UV exposure and heat are the primary drivers of moisture loss. Maintain indoor humidity between 40–60% using a humidifier in dry seasons. Clean spills promptly using only leather-safe products — never all-purpose cleaners, baby wipes, or abrasive materials. Apply a leather protector cream after conditioning as an additional barrier against environmental factors. For a complete prevention routine, refer to our leather conditioning guide.
It can, but color matching requires care. Most quality leather repair kits include multiple color tubes that can be mixed to approximate your leather shade. The critical step that most people skip is letting the mixed color dry completely on a test surface before applying it to the sofa — wet compound always appears darker and more saturated than the dried result. If your first mix is too light after drying, add small amounts of darker base colors. If it is too dark, add white or lighter tones. For complex leather colors like distressed brown or aged grey, matching may not be perfect, but the difference becomes far less noticeable after applying leather conditioner, which adds a uniform sheen to both the repair and the surrounding leather.
A well-executed DIY leather repair using a quality kit can last 2 to 5 years, depending on the location and how well the sofa is maintained afterward. Repairs on low-stress areas (back panels, sides) tend to last longer than repairs on seat cushions and armrests that bear weight and friction daily. Professional repairs using industrial-grade compounds and color-matching systems can last 5 to 10 years or longer. The single biggest factor in repair longevity is ongoing maintenance — a repaired area that receives regular conditioning will last significantly longer than one on neglected leather, because the surrounding material stays flexible and doesn't stress the repair bond. After any leather repair, conditioning the area monthly for the first 3 months is strongly recommended.